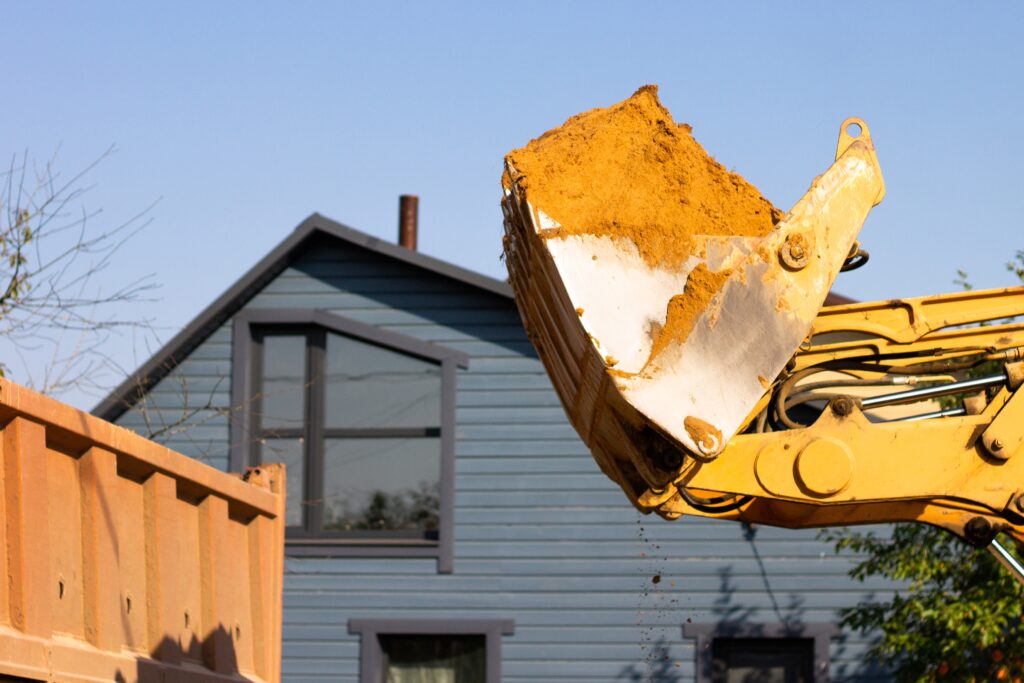
Removing exterior stucco can significantly enhance the appearance and functionality of your home, but it’s important to remember that stucco removal often uncovers hidden issues that may compromise your home’s structural integrity. Whether it’s moisture damage, rot, or even pests, addressing these issues is critical before proceeding with new cladding or siding materials. In this blog, we will guide you through the process of inspecting and repairing underlying damage after stucco removal to ensure a safe, durable, and aesthetically pleasing home exterior.
Table of Contents
ToggleStep 1: Conduct a Thorough Inspection
Before you begin any repairs, it’s essential to perform a thorough inspection of the exposed surface after the stucco has been removed. This step helps identify any hidden issues that may have been concealed by the stucco layer.
Visual Assessment
Start by visually inspecting the surface for any signs of damage, such as discoloration, cracks, or crumbling materials. These could indicate underlying moisture problems or structural concerns.
Moisture Detection
One of the most common issues uncovered during stucco removal is moisture infiltration. Using a moisture meter, check for any signs of dampness behind the wall. If moisture is present, it’s crucial to address the source of the problem before proceeding with repairs.
Structural Evaluation
Examine the sheathing, studs, and framing for signs of rot or damage. Look for soft spots or areas that feel spongy to the touch, which may indicate that the wood has deteriorated due to moisture or pest infestation.
Step 2: Address Identified Issues
Once the inspection is complete and any underlying damage has been identified, it’s time to address these issues.
Replace Damaged Materials
If any of the wooden materials, such as framing or sheathing, have been damaged by moisture, they need to be replaced. Ensure that all affected areas are fully replaced to maintain the structural integrity of your home.
Treat Mold and Mildew
If you notice mold or mildew growth, use appropriate cleaning agents to remove it. Mold can pose health risks, so it’s essential to treat the area thoroughly to prevent further contamination.
Repair Structural Components
In cases where the structural framing has been compromised, it may need to be reinforced or replaced entirely. Repairing structural components ensures that your home remains stable and secure.
Step 3: Prepare for New Cladding
Once any underlying damage has been addressed, the next step is preparing the exposed surface for the installation of new cladding or siding materials.
Install Moisture Barrier
A weather-resistant moisture barrier should be applied to the exposed surface. This barrier prevents water from seeping into the home, which could lead to further damage down the line.
Ensure Proper Drainage
Verify that weep screeds and flashing are properly installed. These elements help water drain away from the wall, reducing the likelihood of moisture damage in the future.
Surface Preparation
Before applying any new cladding material, make sure the surface is smooth and level. This will ensure that the new siding adheres properly and provides a long-lasting finish.
Step 4: Choose the Right Replacement Material
With the surface properly prepared, it’s time to consider what type of material to use for your new cladding. The right material will not only protect your home but also enhance its curb appeal.
Material Options
There are several cladding materials to choose from, including vinyl, fiber cement, and new stucco. Each material has its own benefits:
- Vinyl is affordable and low-maintenance, making it a popular choice for many homeowners.
- Fiber cement offers durability and fire resistance while mimicking the appearance of wood.
- Stucco is a timeless choice that provides a traditional, textured finish.
Considerations
When choosing your new cladding material, take into account factors like your local climate, budget, and desired aesthetic. For example, vinyl may not perform as well in extreme climates, while fiber cement offers more robust protection.
Professional Advice
Consulting with experts can help you make the best choice for your home. A professional can assess your home’s needs and recommend the most suitable cladding material for long-lasting protection.
Step 5: Budget for Repairs and Replacement
The cost of repairing underlying damage and replacing stucco can vary widely depending on the extent of the damage, the materials used, and the complexity of the project.
Cost Estimates
On average, you can expect to pay between $1 to $5 per square foot for stucco removal and repair. However, additional costs may arise if underlying issues such as rot, mold, or structural damage are discovered.
Additional Expenses
If your home requires significant structural repairs or mold remediation, these costs can add up. It’s essential to plan for these additional expenses in your budget.
Financial Planning
We recommend setting aside a contingency fund for unexpected repairs during the stucco removal process. This ensures that you are prepared for any unforeseen issues that may arise.
Conclusion
Removing exterior stucco can dramatically improve your home’s look and performance, but it’s essential to address any underlying damage uncovered during the process. By conducting a thorough inspection, repairing any identified issues, and properly preparing the surface for new cladding, you can ensure a safe and durable home exterior. If you need professional help with stucco removal and repairs, TheFixitGuys is here to guide you through every step of the process.
Contact TheFixitGuys today to schedule a consultation and get expert advice on your stucco removal and repair needs. Let us help you make your home both beautiful and structurally sound for years to come.